Sump Pump Installation & Repair in Farmington Hills, MI
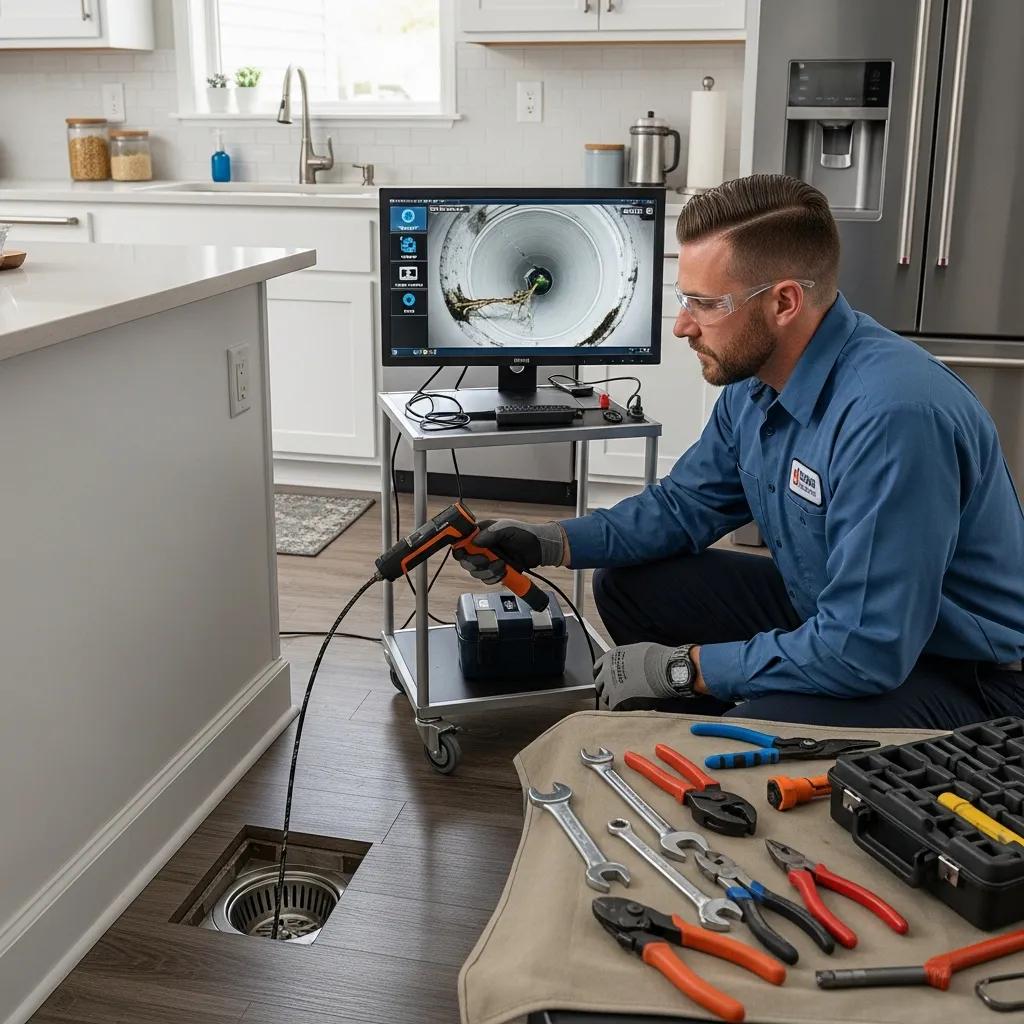
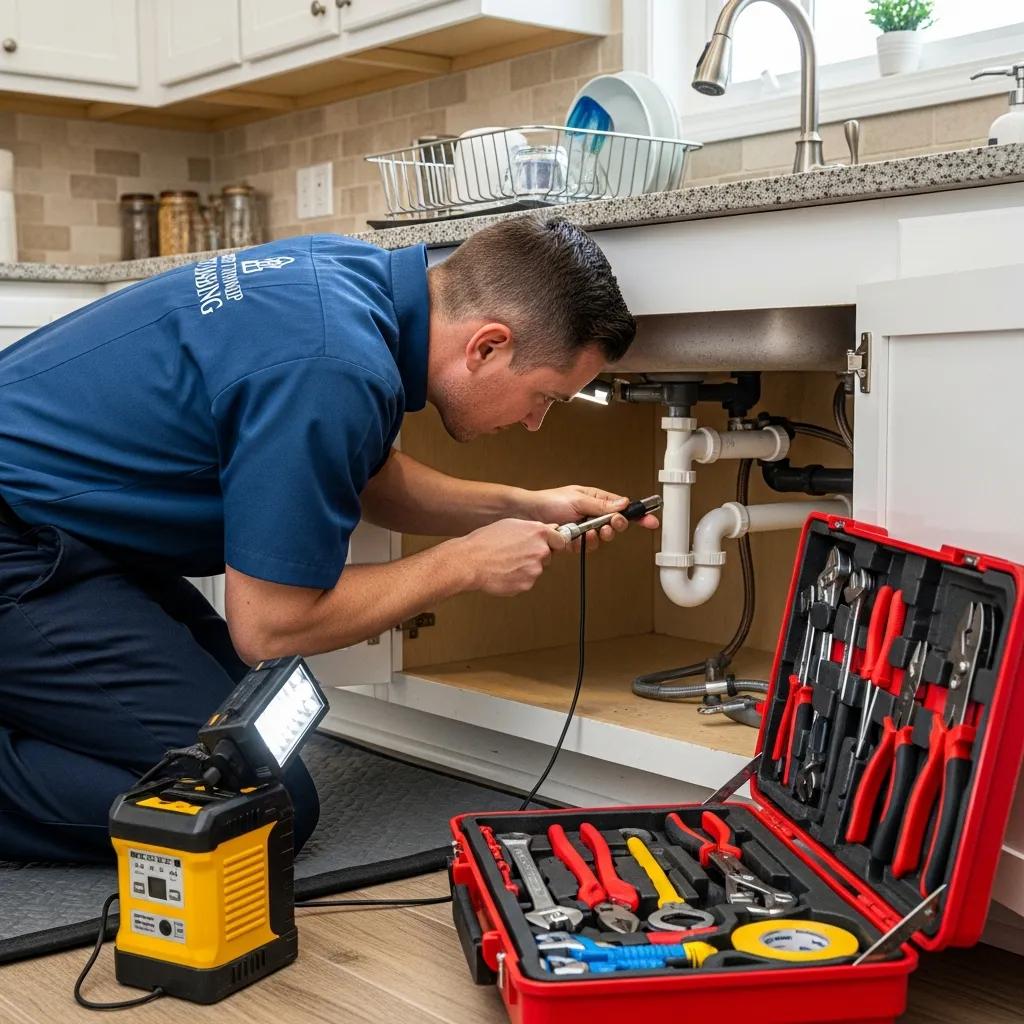
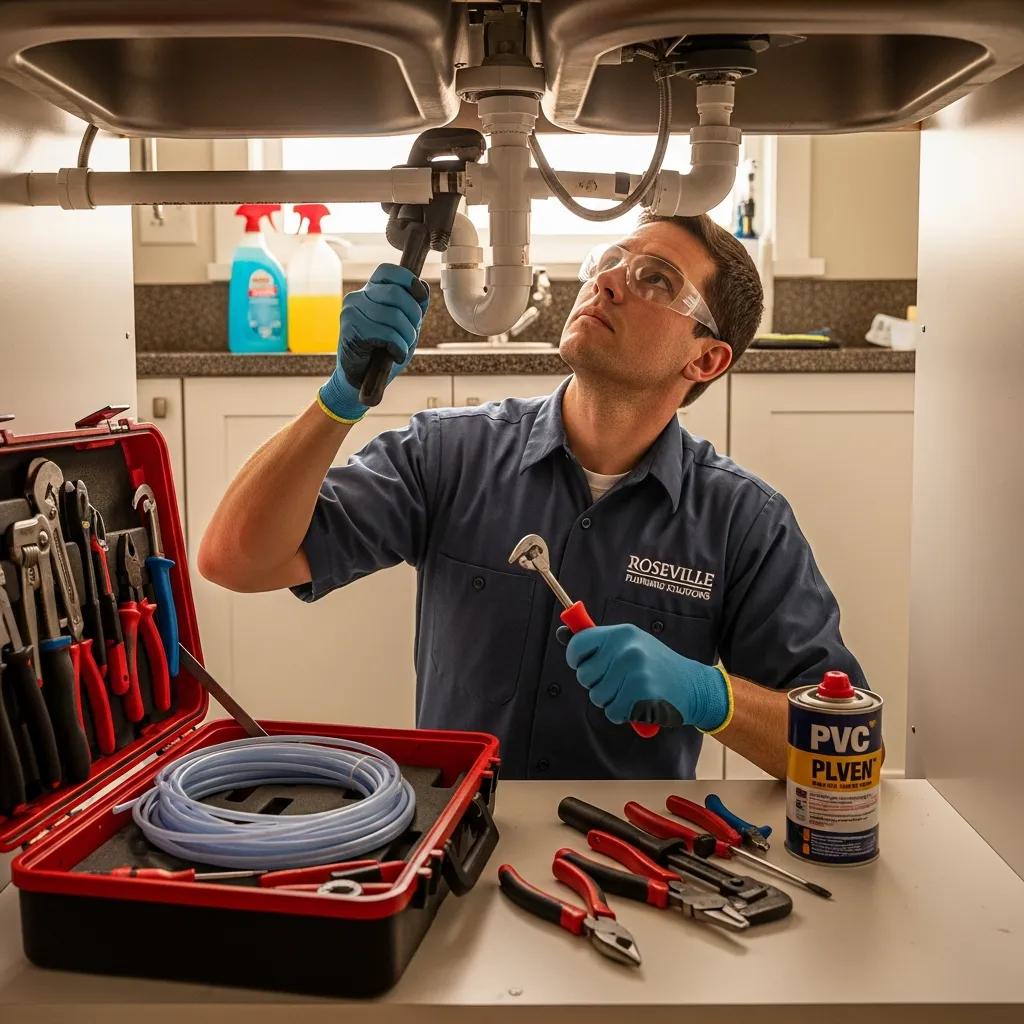
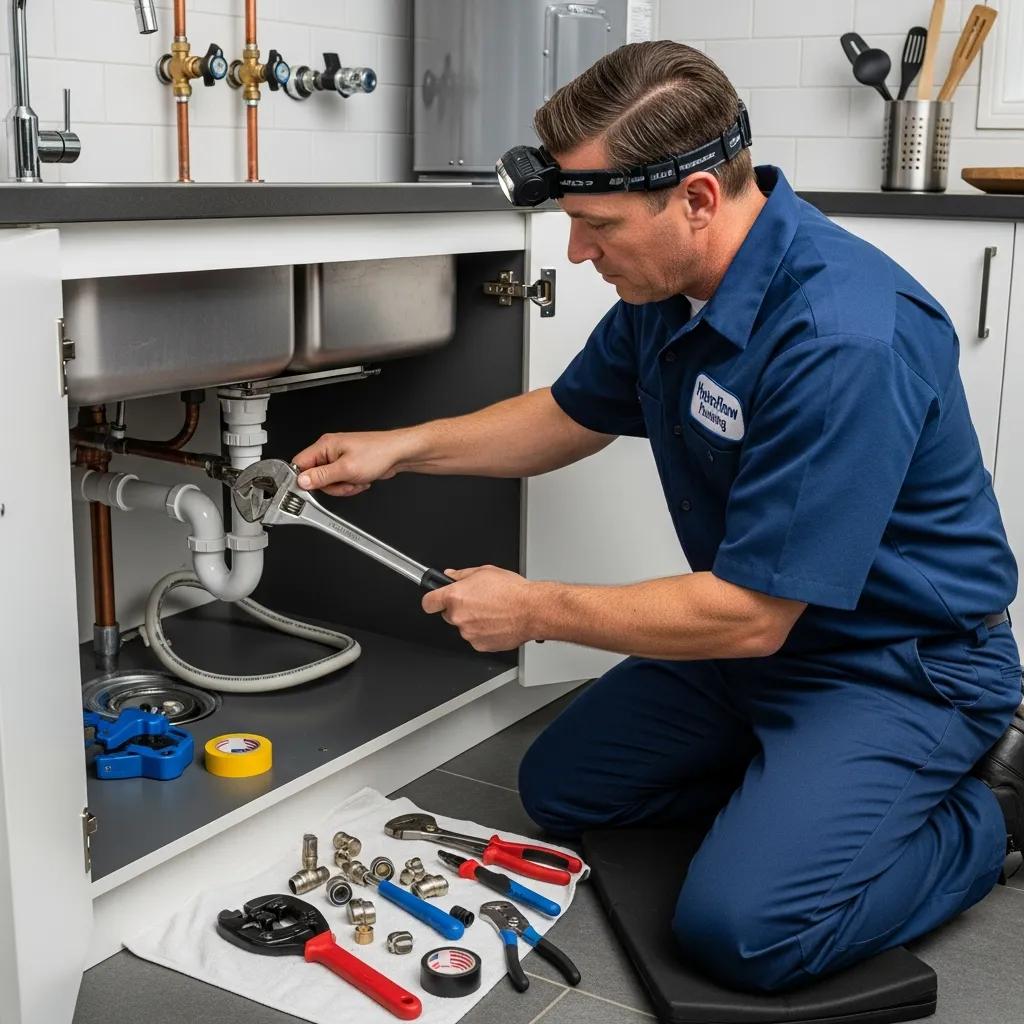
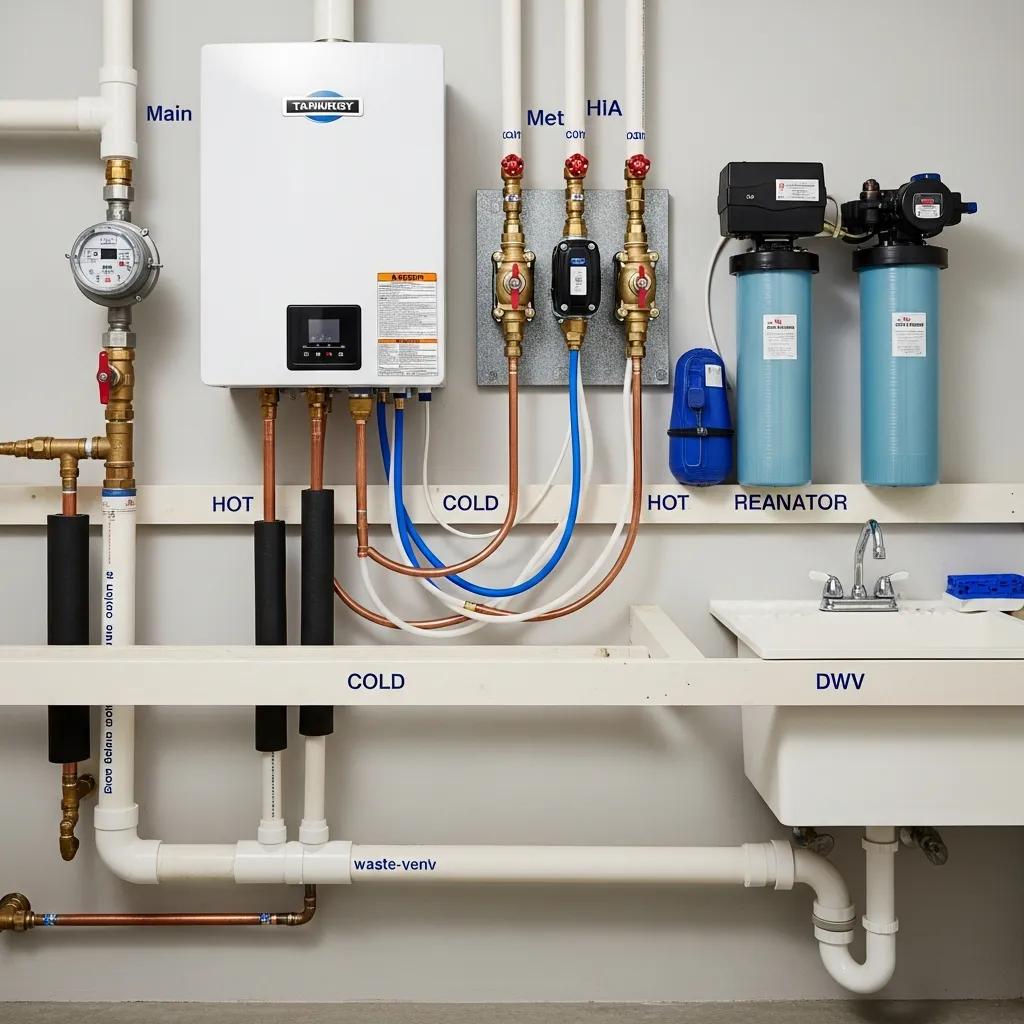
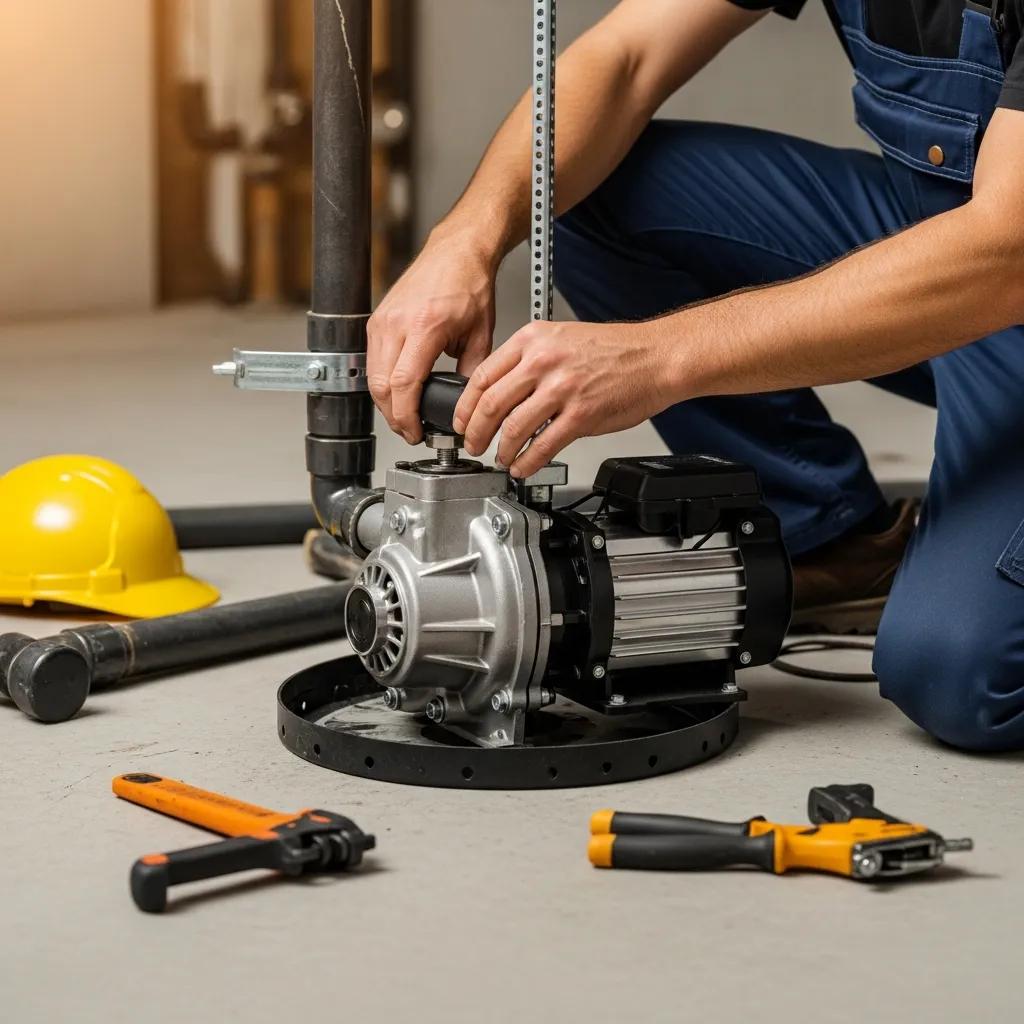
Sump Pump Installation & Repair Experts in Farmington Hills, MI — Protect Your Basement from Flooding A sump pump collects and removes groundwater from a dedicated pit so basements stay dry and homes avoid costly water damage. When water reaches the trigger point, a properly installed sump pump starts, sends water away from the foundation, and helps prevent mold and structural problems. In Farmington Hills, where heavy seasonal rains, mixed soil drainage, and occasional power outages are common, a dependable sump system is a practical safeguard for both homes and businesses. This guide explains why sump pumps matter locally, compares common pump types, outlines installation, repair, and maintenance services, and answers the homeowner questions we hear most. You’ll learn how sump pumps work, which local risk factors to watch for, how professionals handle installs and emergencies, and when to add backups or a sewage ejector. Read on to compare options, review service levels, and pick up simple maintenance steps that lower your flood risk. Why Sump Pumps Matter for Farmington Hills Homes and Businesses Sump pumps stop groundwater from saturating basements and crawlspaces, cutting the risk of mold, ruined belongings, and foundation damage. Water that enters through drain tile or foundation cracks collects in the sump pit, lifts the float switch, and activates the pump, which pushes water through a discharge line away from the building. Check valves prevent return flow; correct sizing and float placement stop rapid cycling and premature wear. In Farmington Hills, heavier storms, higher water tables in some neighborhoods, and older foundations make sump systems an especially important part of home protection. Knowing those local risks helps you choose the right pump, backup plan, and inspection schedule before the wet season arrives. Below is a quick map of local risks, likely consequences, and practical solutions to help prioritize work. Local Risk Factor Consequence Recommended Solution Heavy seasonal rainfall Basement flooding and interior water damage Install a properly sized primary pump and improve exterior drainage High water table or saturated soil Frequent sump activations and pump cycling Add a backup power source and a check valve to prevent re-entry Older foundation/drain tile Recurring seepage and mold growth Inspect drain tile, repair foundation cracks, and install a reliable sump system That quick comparison shows how targeted fixes reduce specific risks and why installation choices matter for reliable basement protection. How Sump Pumps Keep Basements Dry The sequence is straightforward: groundwater flows into the sump pit, the float switch senses the rise, and the pump runs to move water through a discharge line away from the foundation. A check valve prevents water from returning to the pit, and proper pipe routing sends water to an approved drain area. Correct pump capacity and float placement reduce excessive cycling and motor wear so the system runs only when needed and can handle expected flows. Understanding this helps you spot performance issues and decide when maintenance or upgrades are needed. Next, we’ll look at local environmental and structural factors that increase the need for a reliable sump system in Farmington Hills. Local Factors That Increase the Need for Reliable Sump Systems Farmington Hills experiences intense rain events and seasonal runoff that increase groundwater entering basements. Clay or poorly draining soils and older drainage systems can make saturation worse, and power outages during storms underscore the value of battery or water-powered backups. Finished basements or equipment stored below grade raise the stakes for even a small leak, so a pre-season inspection is a smart move. Scheduling checks before spring rains lets homeowners clear float obstructions, test check valves, and confirm discharge paths before high-risk periods begin. Those local details point to the full range of services available to install, repair, and respond to sump issues quickly. Comprehensive Sump Pump Services from Frost & Kretsch Plumbing in Farmington Hills Our sump services include site assessment, equipment selection, installation or replacement, diagnostic repairs, routine maintenance, and emergency response for active flooding. A professional install starts with sizing the pump to the site, preparing the pit, hooking up electrical safely, and finishing with commissioning and homeowner instruction so the system performs as intended. For repairs, we diagnose common failures—stuck floats, motor burnout, clogged discharge lines—and recommend repair or replacement based on condition and life expectancy. Preventative maintenance keeps systems ready by cleaning pits, testing backups, and verifying discharge integrity before storms. When flooding is active, quick triage and temporary mitigation limit damage until permanent repairs are made. Frost & Kretsch Plumbing offers 24/7 emergency response and backup options including battery and water-powered systems. Homeowners can request a free estimate to evaluate needs and plan next steps. Compare service types below to decide what level of support fits your situation. Service Type What’s Included Typical Expectation Installation / Replacement Site assessment, pump selection, pit prep, electrical connection, testing Single-visit installation with post-install commissioning Repair & Diagnostics Float and motor diagnostics, discharge clearing, part replacement Same-day repairs when parts are available; detailed diagnosis otherwise Preventative Maintenance Pit cleaning, float and switch test, battery backup check, discharge inspection Annual or pre-season checks to reduce emergency failures That side-by-side makes it easier to pick the right service and sets expectations for the installation and replacement process. Our Installation and Replacement Process We begin with a site assessment to review basement layout, pit condition, required pump capacity, and preferred backup options. Technicians recommend the right pump—submersible units for debris-prone pits or pedestal units when easier access is preferred—then prepare or replace the pit, install a durable discharge line with a check valve, and complete electrical work to code. Quality checks include multiple activation tests and a homeowner walkthrough on operation, expected run cycles, and routine checks you can do. Post-install commissioning confirms the system meets expected head and flow so water stays away from your foundation and callbacks stay rare. Next, here’s how common repair issues are found and resolved. Common Sump Pump Problems and Troubleshooting Typical failures include a stuck float switch, clogged intake, motor failure, or blocked discharge
Sump Pump Installation & Repair in Farmington Hills, MI Read More »