Top-Rated Plumber in Grosse Pointe City, MI for Residential & Commercial
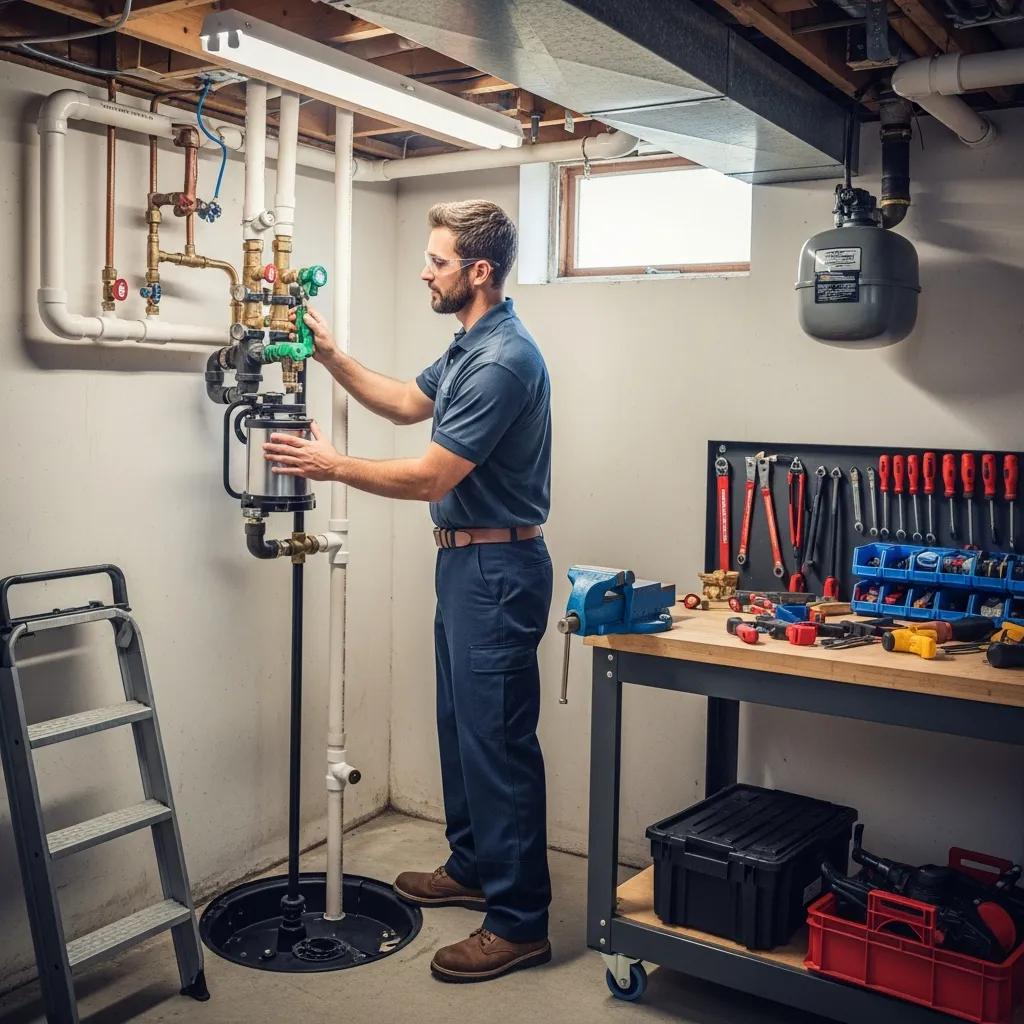
Top-rated plumbing professionals serving Grosse Pointe City, MI — residential & commercial Frost & Kretsch Plumbing Inc. supports homeowners and businesses across Grosse Pointe City, MI with full-service plumbing solutions and a straightforward promise: fast, reliable work when you need it. This guide walks through the common problems property owners face, how modern diagnostics and repair techniques solve them, and what to expect when you schedule service. You’ll learn how sump pumps stop basement flooding, when water heaters should be repaired or replaced, why commercial backflow prevention matters, and how camera inspection and hydro jetting reduce the need for invasive sewer work. We also cover emergency warning signs that require 24/7 attention, practical first steps to limit damage, and how advanced diagnostics point to the least-disruptive repair. Finally, find simple scheduling options and what happens during a free estimate, with local service details to get help quickly. What residential plumbing services does Frost & Kretsch provide in Grosse Pointe? Residential plumbing services fix everyday failures and prevent major water damage by diagnosing root causes and applying focused repairs or replacements. Common homeowner needs include sump pump installation and upkeep to protect basements, water heater repair or replacement to restore reliable hot water, and leak detection to find hidden leaks before they damage structure or finishes. Proper drain cleaning and fixture installation get systems working again with minimal disruption. Advanced diagnostics — acoustic leak detection, thermal imaging, and camera inspection — let our technicians pinpoint problems with little or no demolition, protecting finished surfaces and speeding repairs. Frost & Kretsch delivers these residential services with licensed technicians, clear pricing, and on-call emergency response to ease the stress of urgent issues. We favor minimally invasive diagnostics and provide clear estimates before work begins so homeowners can decide between repair and replacement with confidence. For example, a correctly sized sump pump with a reliable float switch and check valve can dramatically cut a basement’s flood risk — which brings us to how sump pumps work and why proper selection matters in Grosse Pointe. Service Attribute Value Sump Pump Installation Purpose Prevents basement flooding by removing groundwater Water Heater Repair/Replacement Types Offered Gas, electric, and tankless options to restore hot water Leak Detection Methods Acoustic, thermal, and camera-assisted locating This quick comparison shows how each residential service targets a specific problem: pumps for groundwater, heaters for hot-water reliability, and detection for hidden leaks. Professionals choose different tools based on symptoms and the home’s construction. Residential plumbing typically includes these core services homeowners rely on. Sump Pump Installation and Repair: A correctly installed pump moves rising groundwater away from the foundation to prevent basement flooding. Water Heater Service and Replacement: Technicians diagnose failing elements or burners and recommend repair or replacement based on cost and longevity. Leak Detection and Repair: Advanced techniques locate hidden leaks behind walls or under slabs to limit water and mold damage. These services form the backbone of dependable home plumbing. Next, we explain how a sump pump protects your home from flooding. How does sump pump installation protect your home from flooding? A sump pump keeps water out of living spaces by removing groundwater collected in a sump basin before it reaches your foundation or floor. The typical assembly — pump, float switch, and check valve — turns on when water rises to a set level and sends it to an approved discharge point, relieving hydrostatic pressure around the foundation. Correct sizing and placement depend on basement area, soil saturation, and local drainage patterns; the wrong pump can short-cycle or fail to keep up. Routine checks — test the float, clear the discharge line, and verify battery backup — keep the system ready and reduce flood risk. Watch for warning signs: odd noises, constant cycling, or visible corrosion around the pit often precede failure. Regular inspections in spring and before heavy storms catch problems early. In areas prone to repeat high groundwater, technicians usually recommend a backup system. Knowing how the float switch and check valve work leads naturally into why water heater service matters for comfort and safety. Signs a sump pump may be failing: Unusual noises, nonstop cycling, visible corrosion. Quarterly maintenance tasks: Test the float switch, inspect discharge pipe, confirm backup power readiness. When to replace a pump: If it short-cycles, can’t keep up with inflow, or shows electrical faults. Routine upkeep reduces emergency calls and limits water damage, saving money over time. What are the benefits of water heater repair and replacement services? Repairing a water heater restores function by fixing components like thermostats, heating elements, or burners; replacing it delivers updated efficiency and capacity matched to your household. Repair often makes sense for isolated faults on otherwise healthy units. Replacement is wiser when tanks are old, corroded, or repeatedly failing — modern tankless or high-efficiency models can cut energy use and provide steadier hot water. Professional service ensures correct venting, proper sizing, and safe combustion or electrical connections, reducing scald and carbon-monoxide risks in gas systems. Warranty and efficiency gains also influence whether replacement is the better long-term investment. Look for steady temperatures, no leaks, and normal operation sounds as signs of a healthy heater. Schedule an inspection if you notice sediment buildup, climbing energy bills, or inconsistent hot water. A technician can compare repair vs. replacement costs and recommend the option that saves money and avoids premature failure. Businesses face similar but larger-scale hot-water needs, which we cover next. Which commercial plumbing solutions are available for Grosse Pointe businesses? Commercial plumbing solutions scale residential practices to meet regulatory, capacity, and continuity needs for businesses, prioritizing reliability, code compliance, and minimal downtime. Services include high-capacity drain cleaning, backflow prevention device installation and testing to protect potable water, grease trap servicing for food-service waste control, and commercial water heaters sized to facility demand. Preventive maintenance plans keep facilities open by scheduling routine cleaning, inspections, and compliance testing. Minimally invasive diagnostics like camera inspection help reduce service time and enable focused repairs that limit business interruption.
Top-Rated Plumber in Grosse Pointe City, MI for Residential & Commercial Read More »